Free Hologram Generator Script (Download)
Download Crate’s Free Hologram Script here
This Script has been updated for AE CC2021 on 12-17-2021
Create a Free or a Pro account, then simply click the link above to download! This script was built with an older version of After Effects, but is completely compatible. If you have errors appearing, please go to File > Project Settings > Expressions and change your expression engine from JavaScript to Legacy ExtendScript
Creating holograms in After Effects is about to get a lot more fun with the release of our latest script.
These effects are one of the most requested on ProductionCrate, our library of thousands of digital assets to help build your creative endeavours. We know that often you will need to control what’s projected in the hologram, which is why we released this tool to help you do exactly that.
Not only can you download it for free, but using it to create your After Effects hologram is a one-click process!

Every feature that you could possibly need was built into the script. This includes:
- Color

- Glow
- Projection Rays
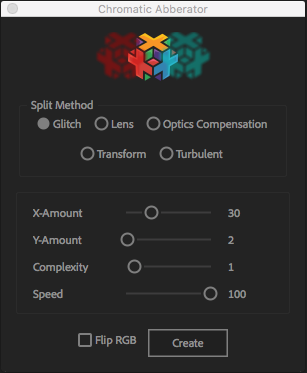
- Chromatic Aberration
- Scan Lines
- Displacement
- Flicker
- Signal Interference
- Framerate
- Pixelate
- Blur
- Sharpen
All properties are fully customisable, meaning no matter what style you were aiming for, you’ll get there.
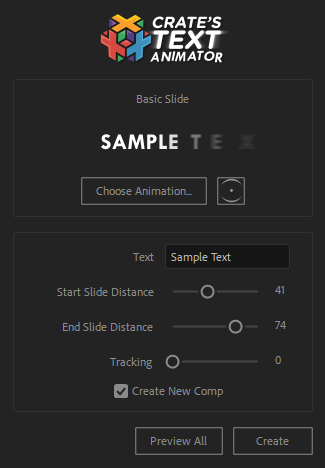
If you wanted to save your customised hologram, you can also click Animation -> Save Animation Preset to be able to apply it to any other shots you may have.
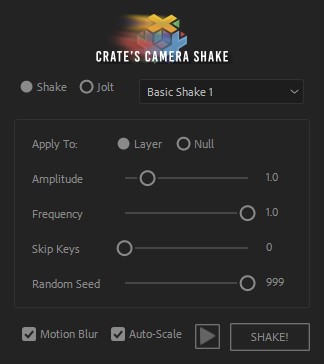
And if you wanted to save time, you might be interested in checking out the presets that we have built into the script. You can navigate through these by clicking the arrows on the pop-up window. These have been built to mimic some of the most recognisable movie holograms, referencing Star Wars, Iron Mans HUD, Aquaman and more.
To download and install the script, open up After Effects and navigate through File -> Scripts -> Run Script File. Find a folder you wish to keep the script, then extract both the images folder and “Crates Camera Script.jsx” to the new location. Double click the .jsx file and you’ll be ready to create your holograms in an instant!
If you’re wanting to save even more time, you can download these HD hologram VFX assets for your video.


 Pro Users can